


PacMan Classroom Transformation
The particular transformation is one that has been on the back burner so to speak for years and it was initially inspired by a photo found on Pinterest. With some intentional planning, this simple photo led to a day full of learning that could easily be integrated into any grade level or subject area.

Transformations are inherently interACTIVE. The act of transforming one thing into another is a great way to hook students’ attention and to engage them in the lesson at hand. Generally, we transform our classrooms towards the end of a unit or lesson of study, allowing students a fun way to demonstrate their recent learning.
The particular transformation is one that has been on the back burner so to speak for years and it was initially inspired by a photo found on Pinterest. With some intentional planning, this simple photo led to a day full of learning that could easily be integrated into any grade level or subject area. Here’s how to get started:
(click on any subheading to jump to that section)
Game Explanation
This room transformation obviously centered around the game board placed in the center of the room. Students would be divided into teams and would sit around the outside of the game board. These teams were either PacMan or Ghosts and were identified with large laminated “game pieces”. Task cards were created for each round of the game, which had a set of leveled questions on it—1 dot, 2 dots and 3 dots. The more dots the question was worth the harder it would be to solve. Students could choose which questions they answered in what order which differentiated the activity for various levels of learners or classes.
Each round was structured as follows:
1 member from each team took a spot on the game board holding their laminated game piece. The other teammates stayed at the table to answer questions.
When the round started, teammates at the table answered questions from the task card. They worked together to solve and wrote out their answers on a small whiteboard. When they were ready to have the answer checked, they simply raised their hand.
The teacher’s job is to roam the room checking answers from the teams as needed. If the team answers a questions correctly, they signal to their teammate on the game board how many spaces they can move. (The spaces moved correlate to the level of question answered)
The teacher decides the length of each round (ours were about 10 minutes) and then can repeat rounds until every student gets a chance to be the live game board piece. (ex. If you have five members on a teams you would have 5 rounds total.)
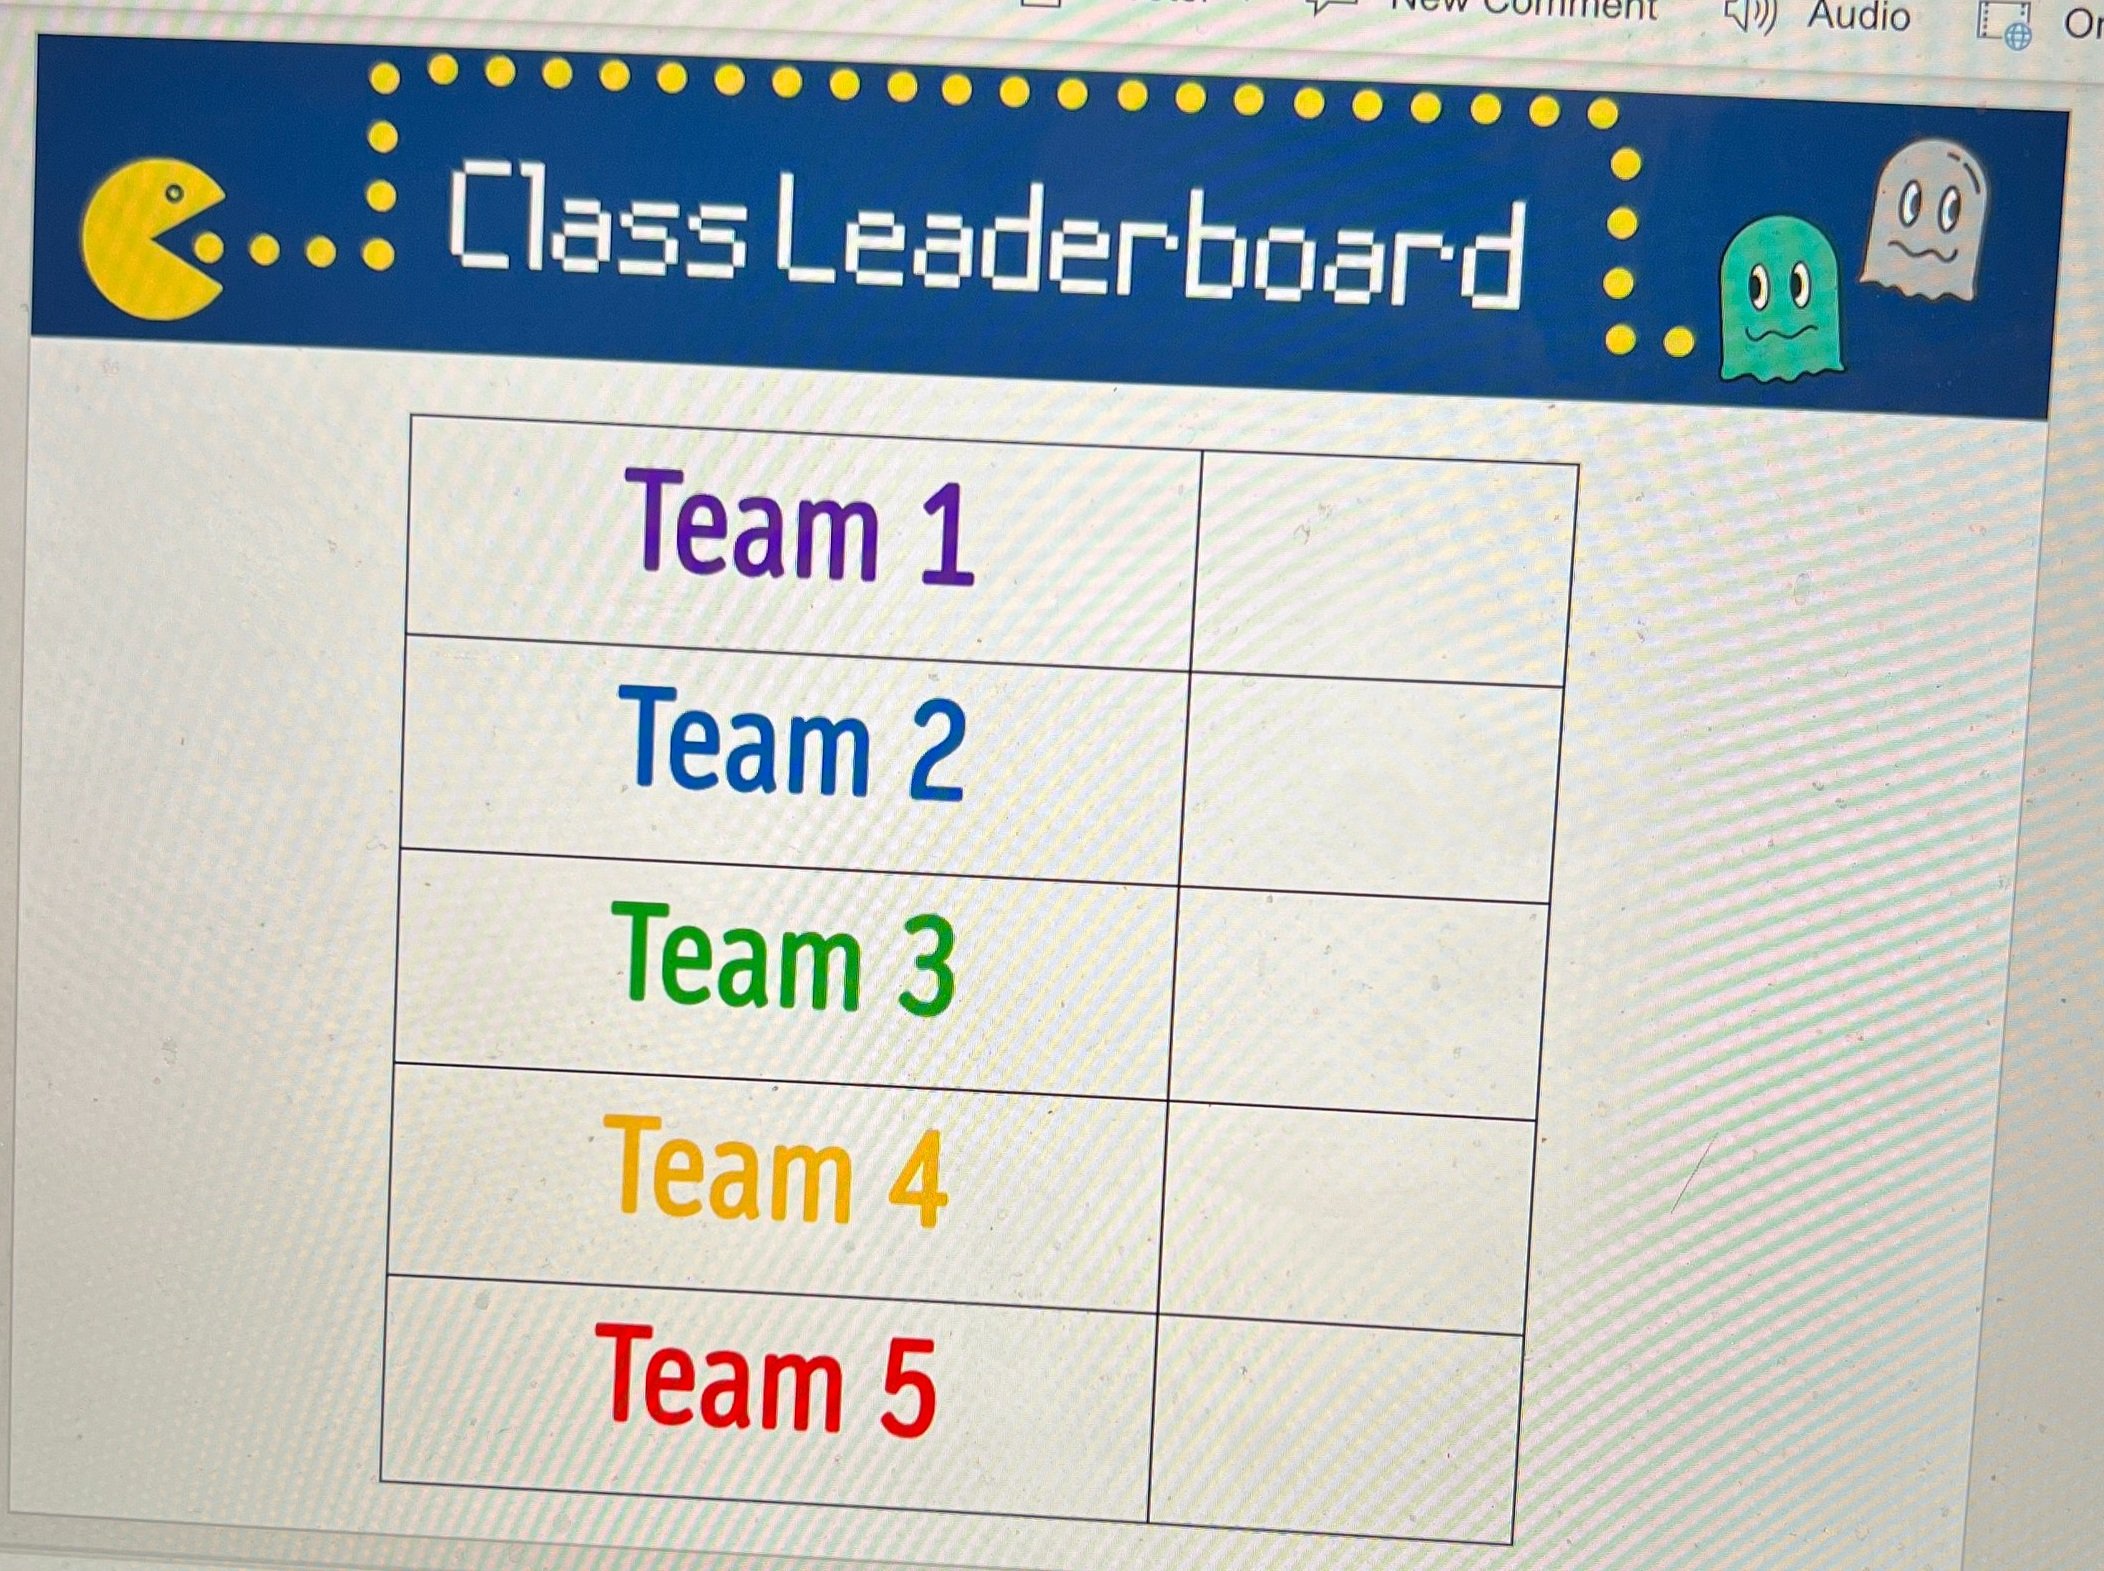
Teams accumulated points by keeping track of the dots they moved during the round. Each small dot on the game board was worth 1 point and the larger dots were worth 5 points. A team leaderboard was created online and points were tracked throughout the day.
Classroom Set Up
The beauty of this room transformation is that you can do as little or as much as you wish in regards to the set up. I started planning weeks in advance and did a little each week to avoid having a lot to do all at once. I also reached out to parents and asked for several items to be donated which cut down on what I had to gather myself.
Game board
The game board was mapped out using the already existing tiles on the classroom floor. The outline of the board was created using a simple grid in Word where we highlighted the layout until we got it to where we wanted it. Our grid turned out to be a 15 x 15 square.

When creating the board on the floor we used blue painters tape for easy removal. We used 2 inch tape for the outside lines and the innermost ghost box and then thinner, 1 inch tape for the rest of the maze. For the white dots we used a hand circle cutter to mass cut out all the smaller dots, and a larger die cut was used for the bigger dots. We spread 6 bigger dots around the game board to mimic the real game but you could have as many as you want.

We illuminated the game board with black lights. As mentioned in previous posts, black lights are one of our favorite supplies for room transformations.

Black lights can be used in so many different ways for different themes, and in this particular case they added the perfect amount of pop to make our game board glow. They gave the room that dark, arcade-like feeling which was just perfect! The link to our favorite set of lights is here.

Team Tables
Teams sat around the game board at tables that were decorated to look like ghosts. Each table simply had a colored tablecloth draped on it with large eyes taped to the front. We just hand drew these and then laminated them so they could be reused.

Score Keeping
Students earned points by answering questions correctly from their task cards. These task cards were laminated so students could write on them and circle the questions they had already completed. This, along with leaving tally marks on the page, helped them keep track of their points. Click on the image below for the FREE task card template we used.

Click on the image to download the free editable template!
At the end of each round, we recorded the total points earned by each team in a live leader board template. This was done in a document online because our classes rotate classes and it allowed each teacher to keep adding points to the teams as they rotated rooms for math/science and ELA.
Click on the image to download the FREE editable template!
Room Decoration
The exterior of the room was draped in black tablecloths. You can use the ones that are singly packaged, or if you are willing to take the time and save a little money, we also had rolls of it donated which we cut to the desired length. We hung them by attaching them to the ceiling with small binder clips which you should be able to get from any Target, Walmart, Dollar Store, or on Amazon. Attached to the tablecloths were just ghosts and PacMan images we printed out and laminated before cutting. These were the same images we used for the game board players.

Hanging from the ceiling were ghosts that we made using balloons and left over colored tablecloths. The eyes were made using circles in PowerPoint and they were just cut out and taped on top. We hung them using the same binder clips.

Other decorations were created by scratch including our PacMan sign which we just traced using our projectors, our giant PacMan posters that we put on our doors, and this adorable arcade sign that my teammate made for us all. If you are not the crafty kind, you can purchase various banners from Amazon like the one below which are pretty cool too!
Music
We used music from the game as a timers to signal the starting and stopping of each round as well as music for when the students entered in the morning. There are many options available for the ones I used are listed below:
Morning Entrance (2 min.)
Longer Medley (start and stop after 10 minutes)
As with any room transformation, it is important to always start with the standards you are looking to teach or review and then look to how you can integrate the fun theme into the learning. With this transformation, we used the day as a spiral review of standards we have covered all quarter before going on break.
-- Let us know if you’re using any of these ideas in your classroom! Be sure to follow us on social media (@TheMerrillsEDU everywhere) and tag us! 👓👗
For more tips, tricks and lesson ideas for making learning more interACTIVE, check out our books The InterACTIVE Class and Flipgrid in the InterACTIVE Class on Amazon!


Create Your Own Breakout Game Using Wakelet, Buncee and Flipgrid!
Bring the engagement of breakout games into your classroom with this Wakelet, Buncee and Flipgrid idea! This post walks you through the process of setting up the breakout OR simply downloading our Wakelet collection templates for yourself!

What does Wakelet, Flipgrid and Buncee all have to do with each other? The answer is alot! But, in this post, you’ll learn how to connect all of these tools to create a truly unique experience for your students: A Breakout!
In this blog post you’ll learn:
(Click on any subheading to jump to that section)
How to Set Up Wakelet for Branching
The key to setting up your Wakelet / Buncee / Flipgrid challenge is using branching, which allows you to send users to different questions depending on their previous answers. For example, if you have a multiple choice question, the correct answer will take you on a different path then the incorrect answers. This is how the Wakelet collections need to be set up.

Start off by mapping out how you want your branching to work. Where will your students go when they answer correctly? Where will they end up if they answer incorrectly? Here’s an example of the beginning stages of what ours looked like (this obviously evolves as you go on).
Once you have your branching and mapping figured out, it’s time to start building the Wakelet collections. Start off by building your first collection by calling it, “Challenge 1.” On Challenge 1, students are given a question and four different answer choices. We recommend keeping the first challenge relatively easy, this was your students feel confident and remain engaged early on.
Before you save everything, be sure to click on the settings icon located on the top left. Make sure you have toggled the Collaboration feature on. Doing so will allow your students to leave work for others to see. This is handy if you have students that might struggle and could use a helping hand from their friends.

When we toggle this feature on, we ask that our students share their strategies - but do NOT share their final answers (for example, they work out that 2+2 = a mystery number - never giving away the answer). This step is completely optional, and you may decide that you don’t want this feature enabled. It’s totally up to you!


Now that you have your first challenge created, you will need to create two additional Wakelet collections - one for the correct answer and one for the incorrect answer. When creating the incorrect collection, be sure to provide a link back to the previous challenge (so that your students can try again). When setting up the correct response, you will want to include the next challenge below the “correct” answer. This is also where your students can be tipped off on what is to come (the first letter of the term “Flipgrid” changes color - indicating that they will need to answer the challenges correctly in order to change the color of each letter in the word. Now they are ready to move onto the next challenge. Repeat the steps above as needed!
How to Add Buncee into Your Wakelet Collection

One of the best integrations with Wakelet is with Buncee. Educators (or students) can post a “live” Buncee into a Wakelet collection. So, in this example we have placed a Buncee project right into Wakelet (copy the share link from Buncee clicking “code”). The students use the hyperlinked items from Buncee to click and find the correct answer. In our example, we chose the books as the correct answer. But, we made the challenge a little more interesting…most students thought the correct answer was “books,” but it was actually the number 8. So, when the students got to the final step, they weren’t able to get in unless they figured out that there was 8 books and needed to use the number 8 instead of the term “books.” This may not have been obvious to them at first, because clicking on the books lead them to the next challenge - indicating that they had the correct response. It was just a fun little twist to throw at them! See if you can figure it out below! 😜
Someone has come into the classroom and left a mess! There are clues everywhere! See if you can solve this puzzle:
I have letters and numbers but I’m not a computer keyboard
I’m sometimes stored in a case but I’m not a cellphone
I contain paper but I’m not a ring binder
I have a cover but I’m not a pillow
Lunch? No thanks. We already eight.
Click on the image that you think is the correct answer. Be careful!
Setting Up Flipgrid for a Wakelet Student Breakout Game
Once you have all of your Wakelet collections / challenges set up, you’ll need to set up a new Group on Flipgrid. From the educators dashboard, slide the toggle button onto Groups. Then, click the blue “Create a Group” button. Enter the information accordingly, then under permissions select Student Username. For the first and last name use something generic like Winner Winner. The next step is important! For the username, enter all of the numbers of the Wakelet challenges. So, if you used 2+2 for challenge 1, 3+3 for challenge 2 and 4+4 for challenge 3, you would enter: 468 (and so on). Set your preferred notifications, then click the blue “Create Group” button.


In your new group, create a new Topic by clicking on the blue “Create a Topic” button. This will be where your students will end up once they crack the code. In our example, we had the students do something fun - show us a victory dance! It was a fun way for us to see who was able to successfully complete the challenge and add some more engagement.

Another tip: you will want to either delete or hide the auto generated Flipgrid Topic that gets created when you start a new Group. Deleting or hiding this topic will guarantee that your students land on the appropriate Topic (since there will only be one Topic in the group). Once you have this set up, you are ready to share your challenge with your students!
Download the 🔥FREE🔥 Wakelet Collections
A bit confused about the above? Short on time? We’ve got you! You can download ALL of the Wakelet collections by clicking here or the image below! Tip: You will need to edit the link to the final Flipgrid challenge with the link to your own Flipgrid Group.
Also, this is a live collection. Please do not add any content, as it could mess up the experience for others.

See it in Action: Classroom images and video from the Wakelet, Buncee and Flipgrid Breakout Challenge


-- Stay tuned for more on how to use Wakelet breakout activities in your classroom! Planning on trying this out? We’d love to see how you’re using it! 👓👗
For more tips, tricks and lesson ideas for making learning more interACTIVE, check out our books The InterACTIVE Class and Flipgrid in the InterACTIVE Class on Amazon!


Lesson Resources for Remote Learning: Spy Transformations
Transforming the classroom has always been one of our favorite ways to engage students. They walk in intrigued, curious as to what the day of learning would hold for them. This heightened interest would help them persevere through difficult tasks they might otherwise give up on. Plan a week of spy themed activities or turn your students into learning detectives. Dress the part, play some music and infuse this theme into any content you are teaching.

Transforming the classroom has always been one of our favorite ways to engage students. They walk in intrigued, curious as to what the day of learning would hold for them. This heightened interest would help them persevere through difficult tasks they might otherwise give up on. It created an atmosphere of challenge balanced with fun and interaction. Well why not do this virtually?! Plan a week of spy themed activities or turn your students into learning detectives. Dress the part, play some music and infuse this theme into whatever content you plan on teaching.
Spy Themed Resources
To help you with your content creation, we have curate various resources available for you to take and use. We spread the resources across platforms in an attempt to find things that everyone can use regardless of how their distance learning lessons are structured and set up. Please feel free to share with colleagues and other teachers in your PLN who may benefit too!

Spy-themed Slides
Slides Mania is an awesome resource for teachers with slide decks for all occasions. Check out this set of slides perfectly suited for problem solving and detective work. Slide decks are available for both Google Slides and Powerpoint.
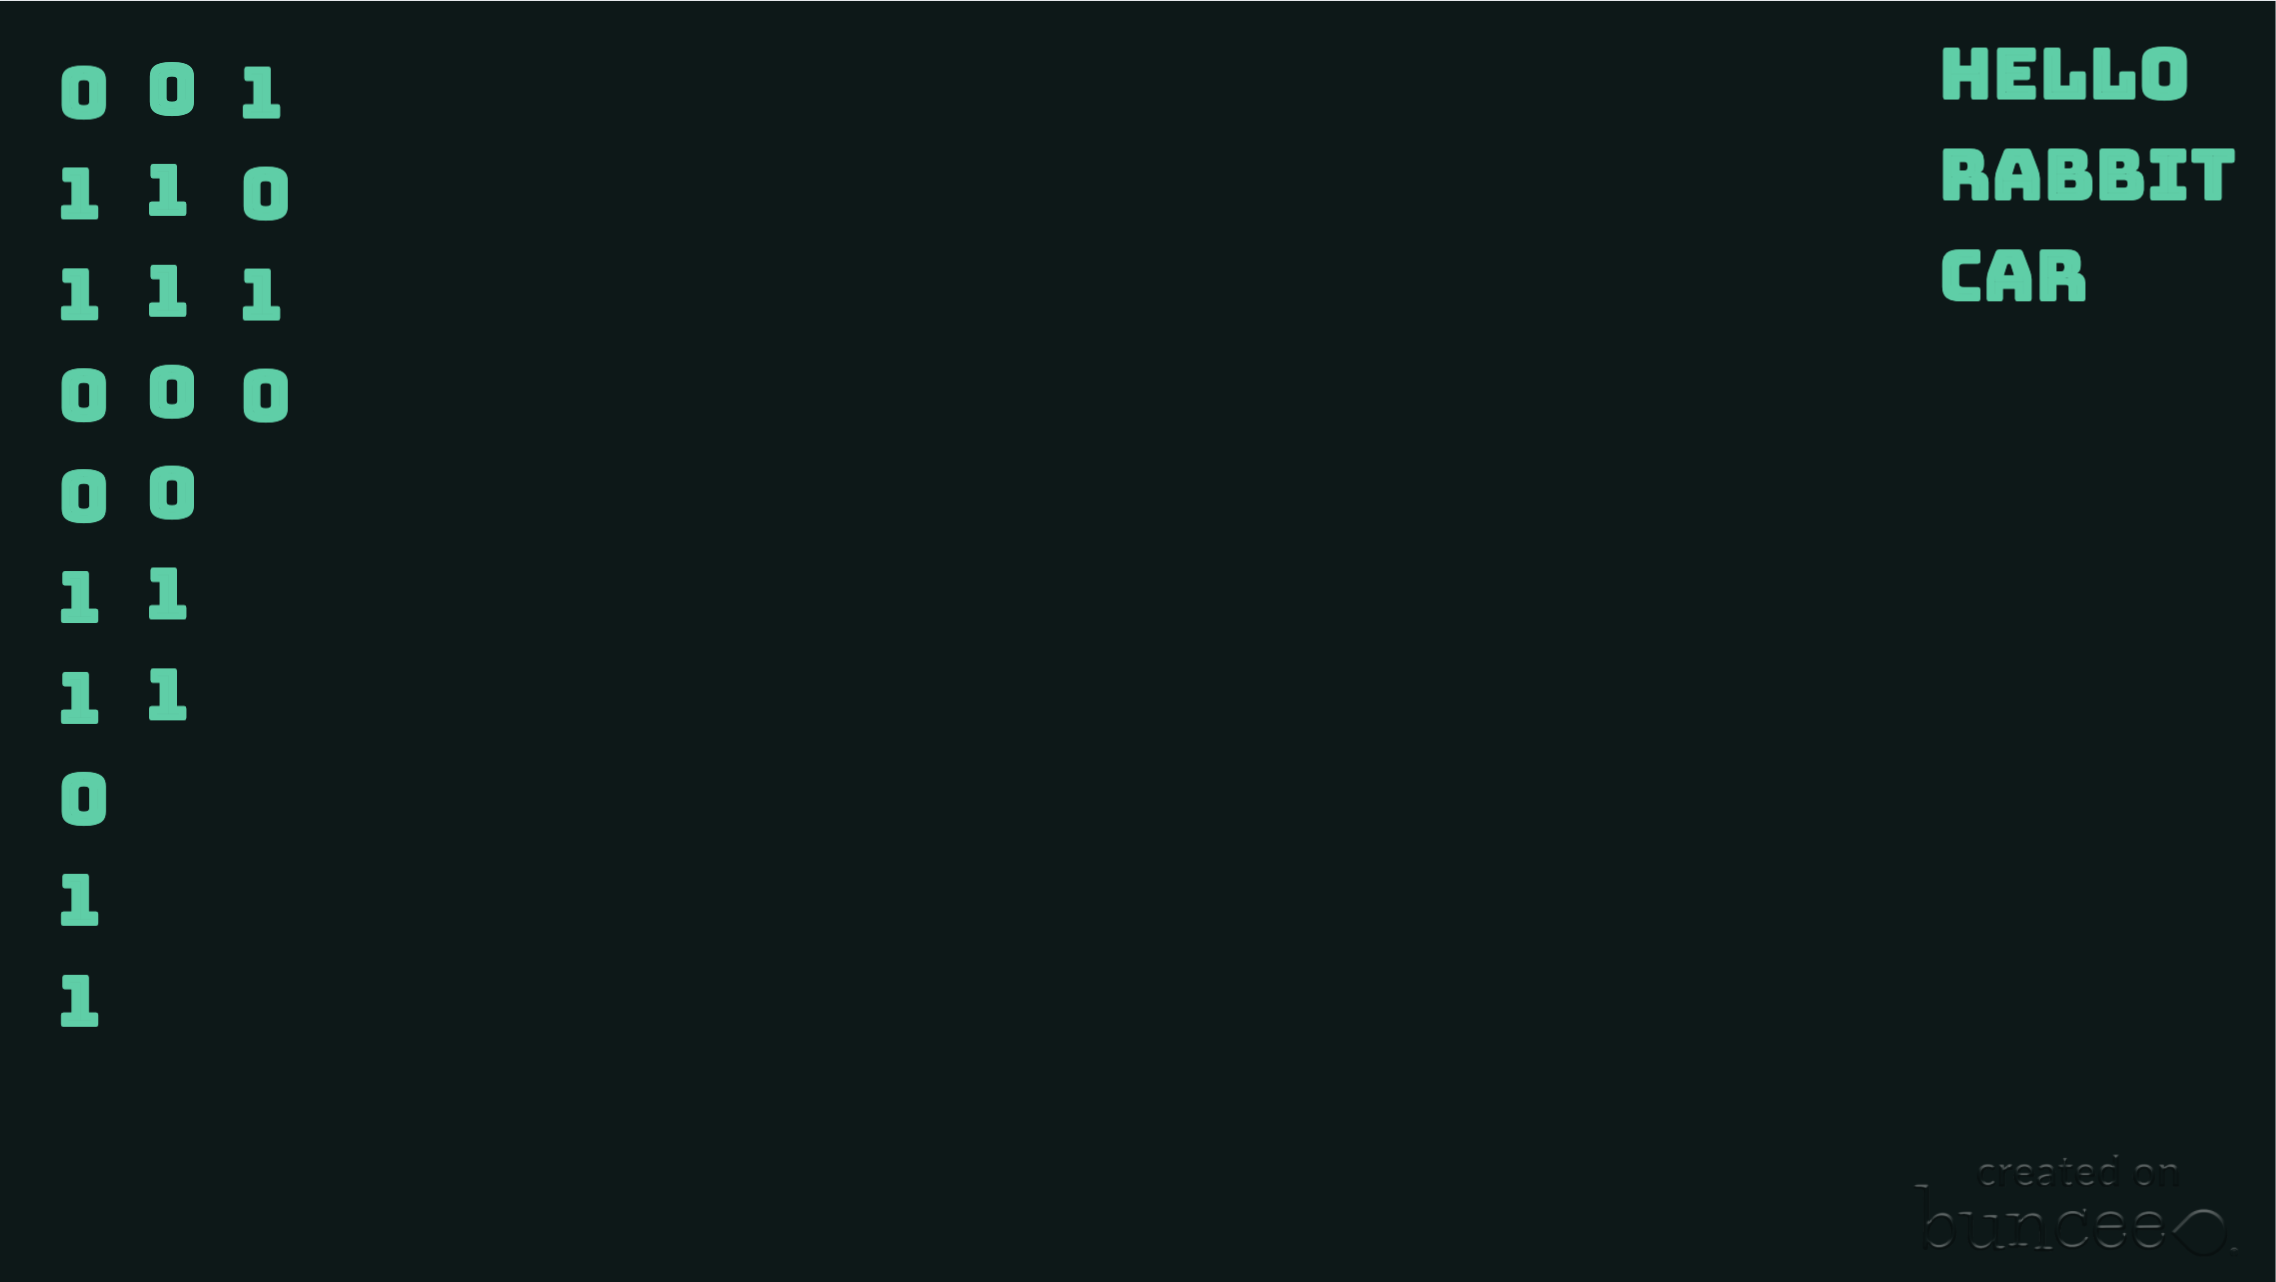
Seesaw Mystery Slides
This idea was shared with us awhile ago by an educator named Kris Szajner and we think it is a perfect #interACTIVE activity for a week of remote learning lessons themed around spies or detectives. Simply have students search for hidden text within the slide. This is done by changing the color of the text to black after formatting & “hiding” it in place. Then, using the “magnifying glass” (which is just an enlarged text box window), students hunt for the hidden text. It could be multiples of a number, the words matched with definitions, the main idea of paragraphs—easy to adapt to any content and standard. Grab the mystery template here!


Secret Spy-Themed Soundtrack
Add some flair and suspense throughout the week with some music! You can use this free soundtrack on YouTube as a background soundtrack for your live Zoom or Google Meet calls or for any recorded teaching material you make for your distance learners.
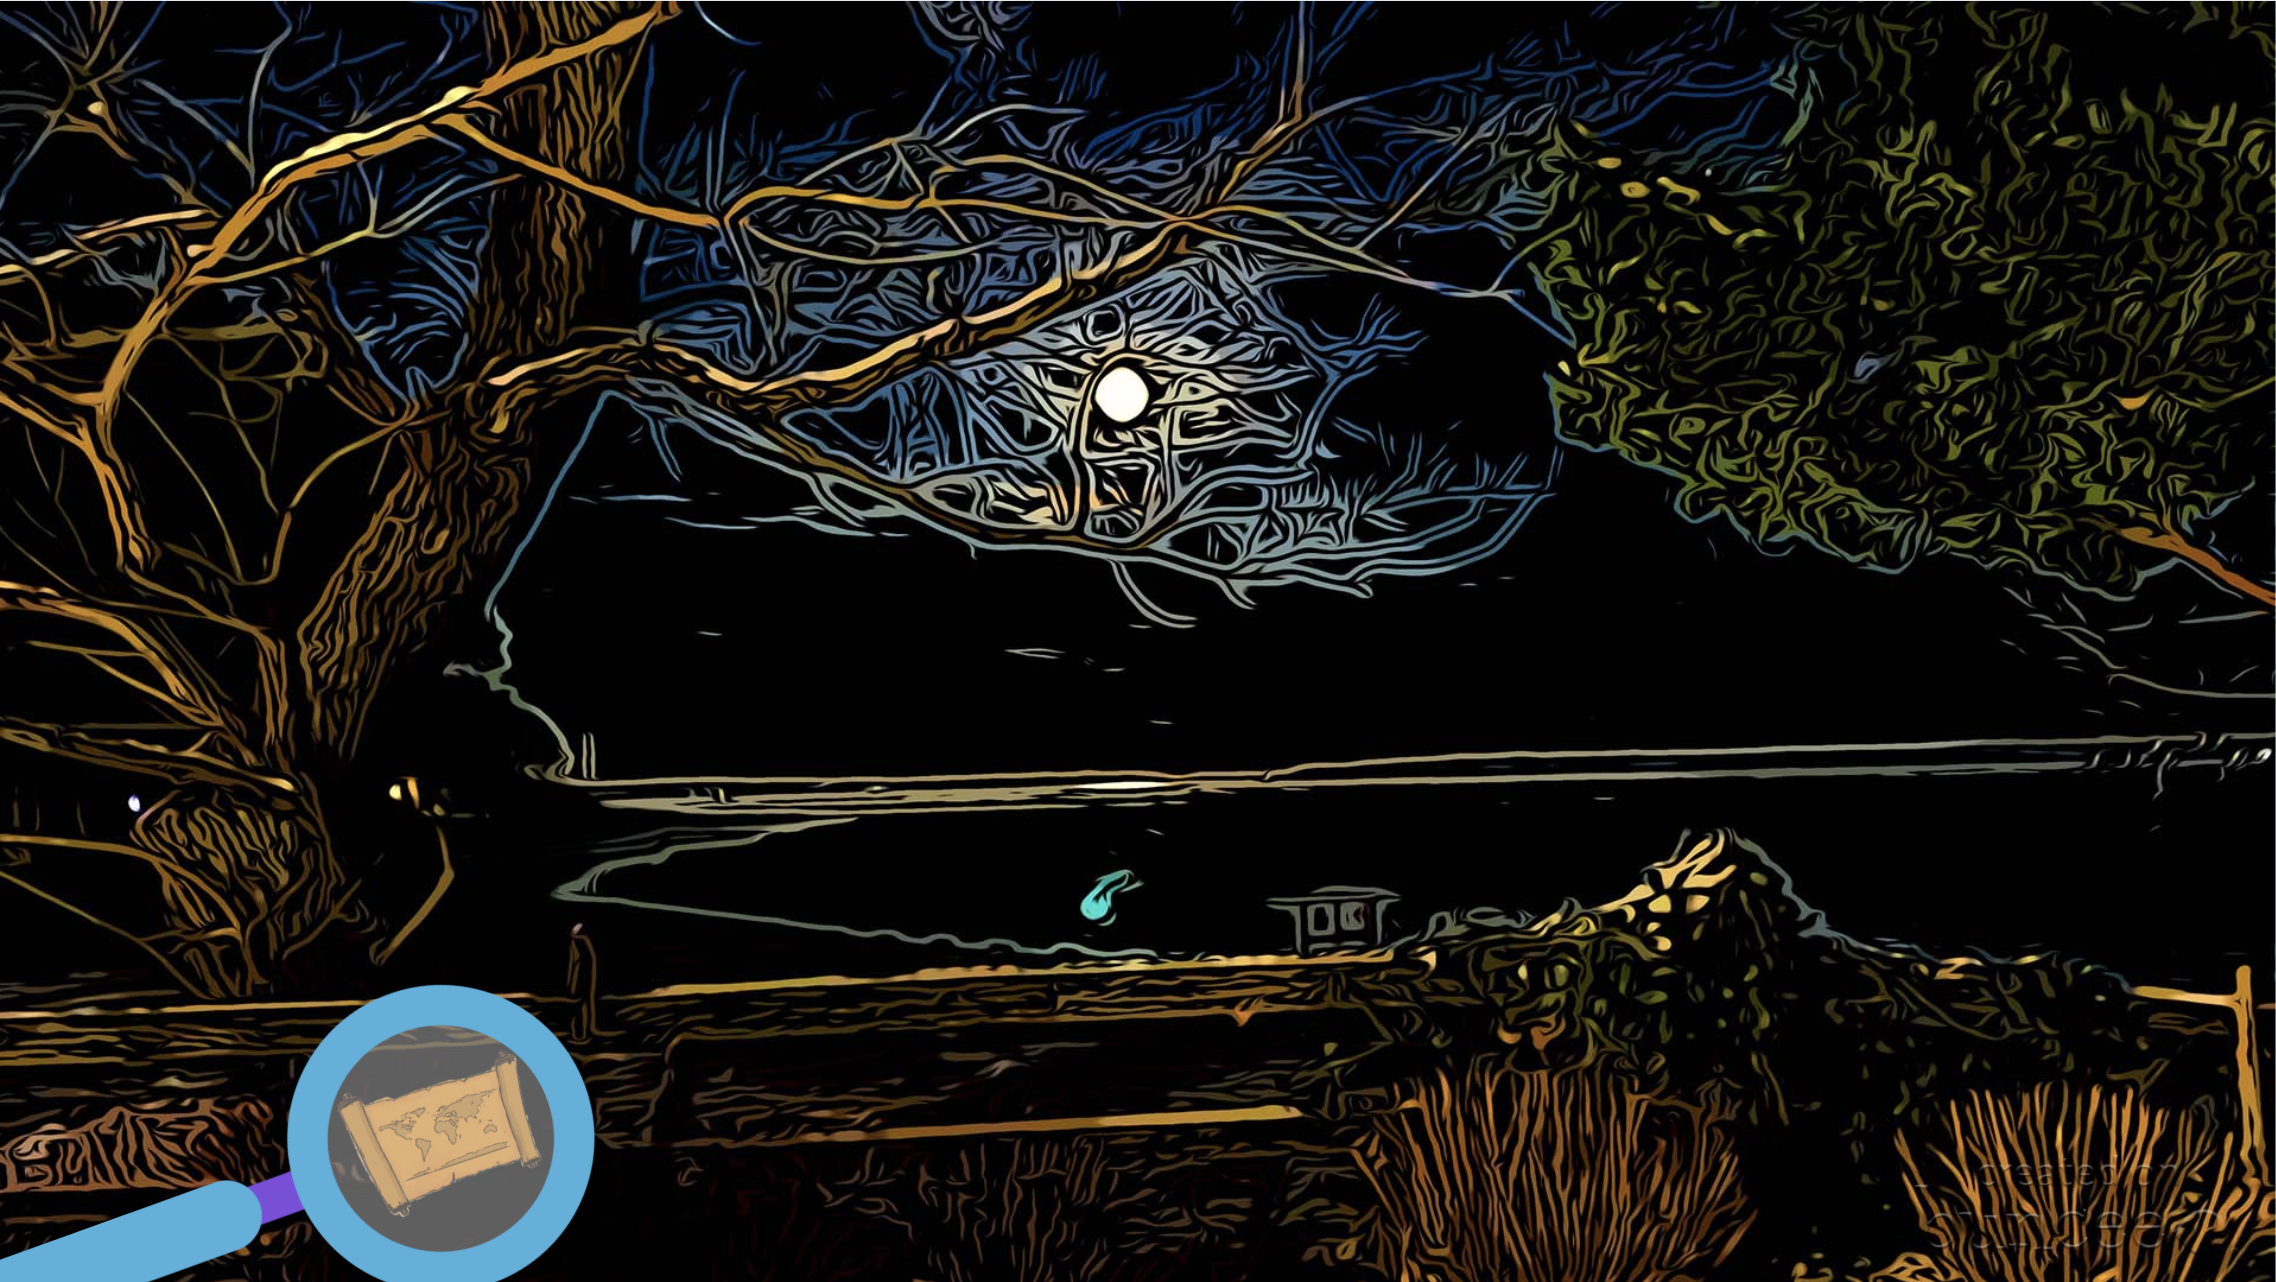
Spy and Detective Background Images
Use this slide deck for fun, detective themed images you can use while recording lessons for students or during live calls in the various platforms. Snag the slides here!


Digital Break Out
We love doing break out games with our kids in the classroom, so while out during remote learning why not bring it to your students. This STEM themed digital breakout is one of the many on the Breakout EDU website and does require platform access. But, check out free digital games in the Flipgrid Disco Library. A few of our favorites include, Around the World in 30 Days, Design Decisions, and GPS Mess.
Spy Themed Stories
During remote learning there are many platforms offering free resources for students to read while working from home. Epic! is one of these platforms worth checking out. When searching “spy” a combination of over 60 fiction and nonfiction titles came up ranging from Geronimo Stilton, to WWII Spies and much more. For more info on using Epic click here.

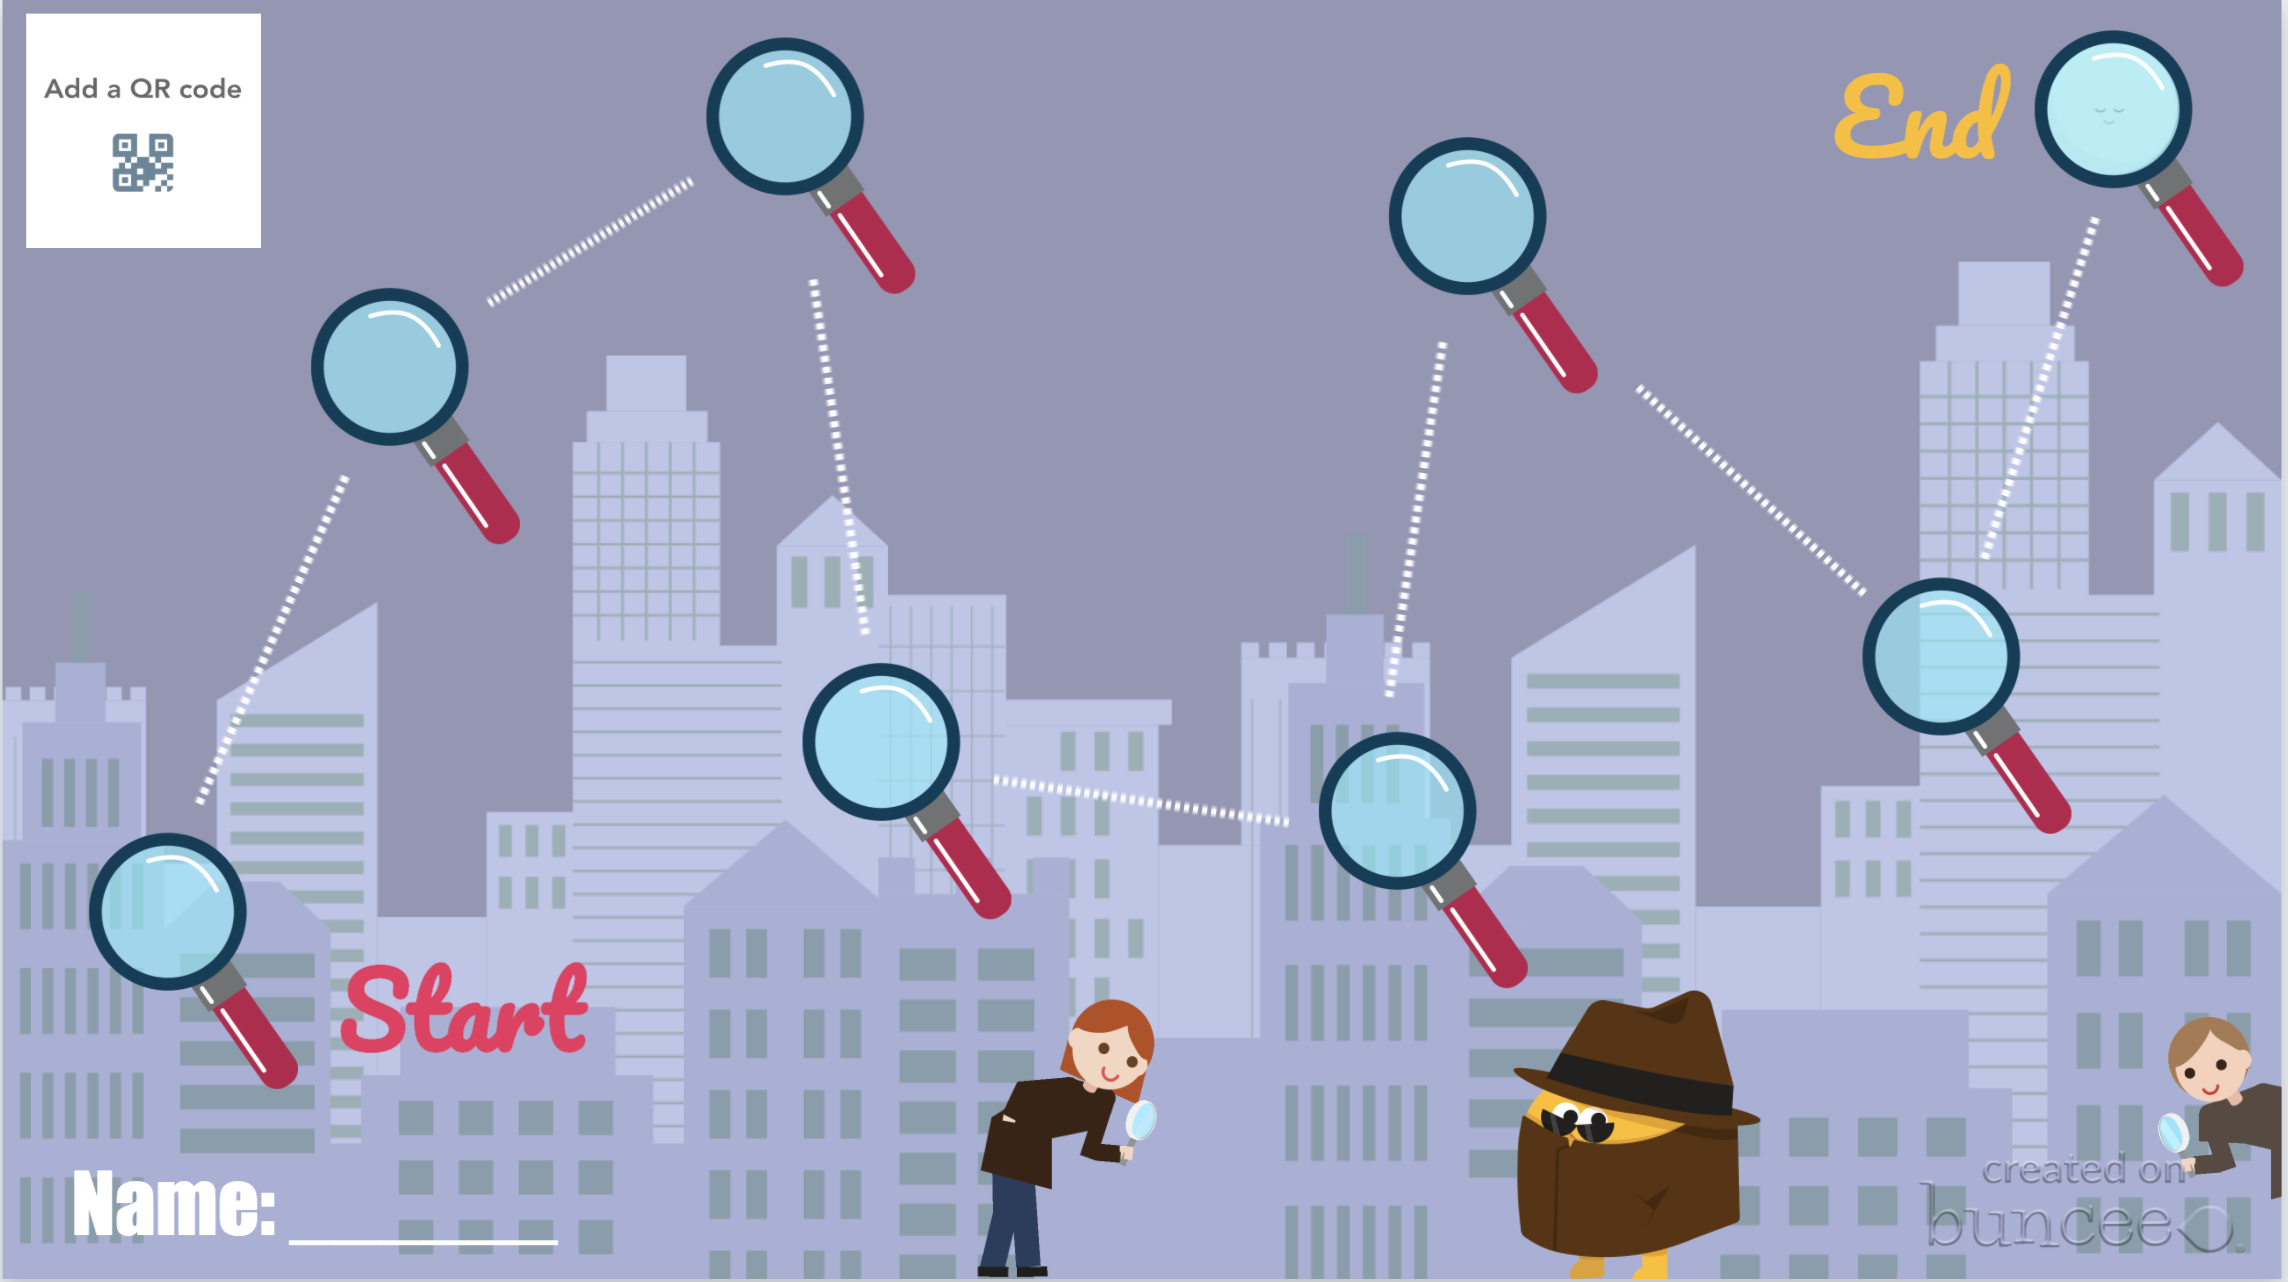
Spy Scavenger Hunt (Live!)
Have you tried playing a game live with your student while on a call. Whether you use Zoom, Microsoft Teams, Google Meet—the principal of the game is the same. Take the general “scavenger hunt” and turn it into a live “spy hunt.” Have students race through the house to find items various themed items like a flashlight, a magnifying glass, a hat and more. For the complete list click here!
Remote Learning Read Alouds
Storylineonline.com is a great reading resource during remote learin. The Case of the Missing Carrot Cake is just one of the many books available for free use. Narrated by Wanda Sykes, students read to learn about what happens to Miss Rabbit’s cake goes missing and what the detectives do to track down the thieves. Read it here! Another great title offered is Private I. Guana read by Esai Morales and The Coal Thief read by Christian Slater. All books come with activity guides for teachers and for parents.


Buncee Backgrounds and Images
Student creation is always important so why not assign your tasks within a Spy Themed Buncee! Check out their newly designed backgrounds and animations or have students design from scratch on their own! Or, try using a playlist where students can work on tasks in a specific order!
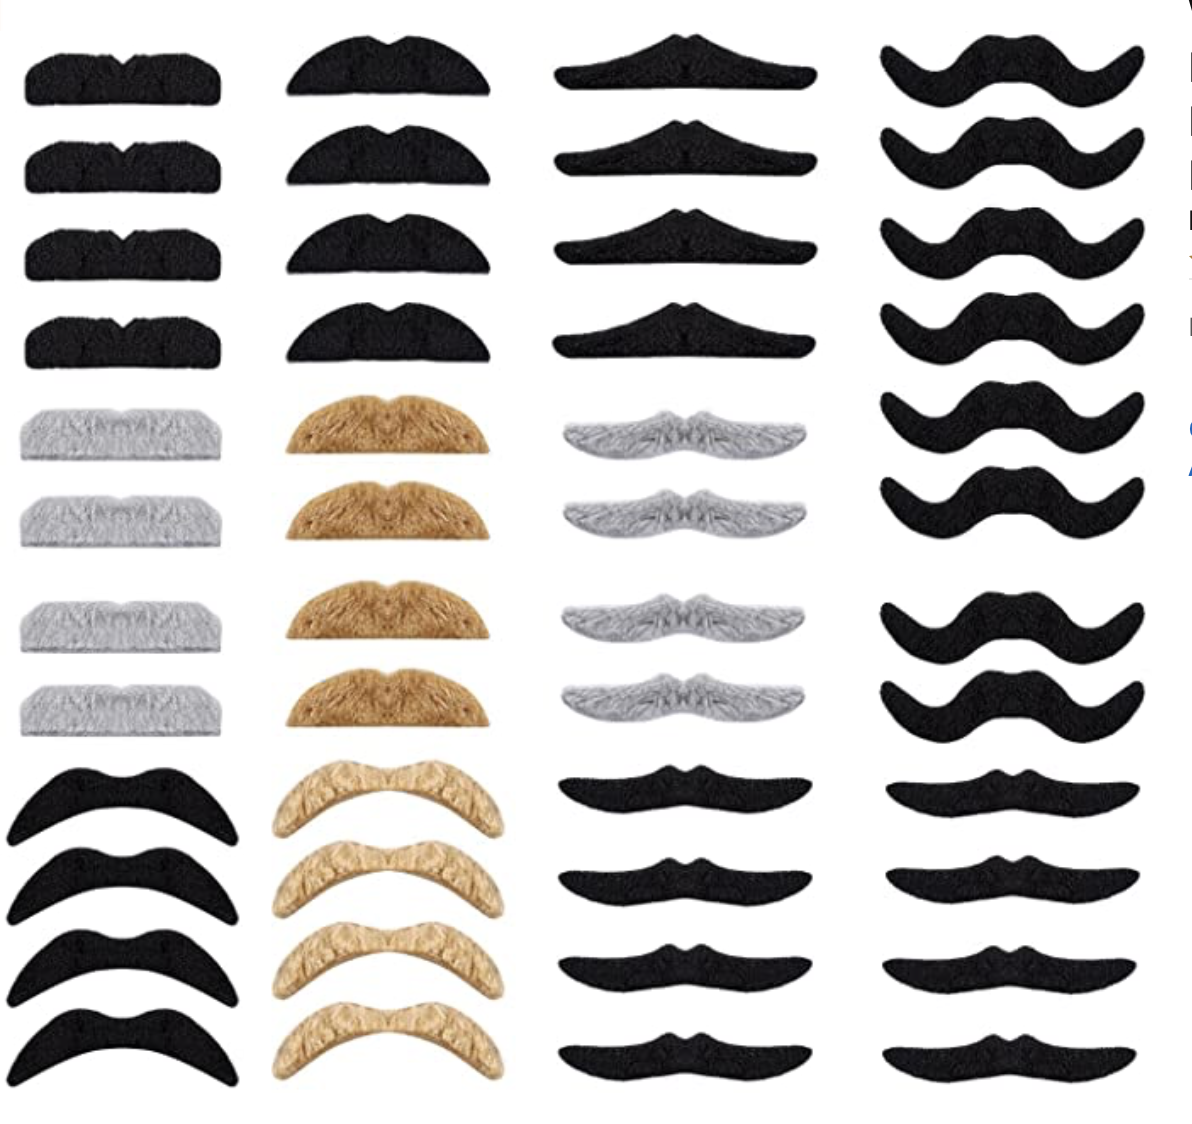
Costume Changes
If you are looking for an additional way to add engagement, try dressing the part! Wear a fun hat or costume while delivering lessons or during live video calls. Send students a fun surprise “stach” in the mail ahead of time so they can get in on the fun too! Check out a few ideas here.

We hope you take these Spy themed resources and create #interACTIVE and engaging lessons for your students during this time of distance learning. Tag us on all social media platforms @TheMerrillsEDU and share will use the creative ways you make learning come alive with your spies and detectives!
Stay #interACTIVE!
-👗➕👓
For more #interACTIVE lesson ideas to use during remote learning, check out our book The InterACTIVE Class on Amazon!


Roll Your Way to More #interACTIVE Lessons
Creating an #interACTIVE learning environment is something that we strive to do as educators every day. But not every engaging activity has to be on a computer, involving song and dance or a costume change. Sometimes a simple die can go a long way!
Creating an #interACTIVE learning environment is something that we strive to do as educators every day. But not every engaging activity has to be on a computer, involving song and dance or a costume change. Sometimes a simple die can go a long way!
The first week of school is always a time where we spend time developing the culture of our classroom and focusing in our our school-wide initiatives. We read books with global lessons like kindness and respectfulness while review the expectations our school has for all students. One of my favorite activities to do is a simple rule review “Cranium style”.
The inspiration for this activity comes from the board game Cranium where players must make their way through the board by getting their team to guess glues through drawing, acting or sculpting out of clay. Although we didn’t have a game board, I used a simple blank dice template to create a fun team-building review activity. Students worked in groups to guess clues to rules we had just reviewed regarding kindness.
Every group of students had a drawing utensil (pencil, white board marker, etc.), a small tub of Play-Doh, and the teacher-made die and a pile of cut out rule cards.
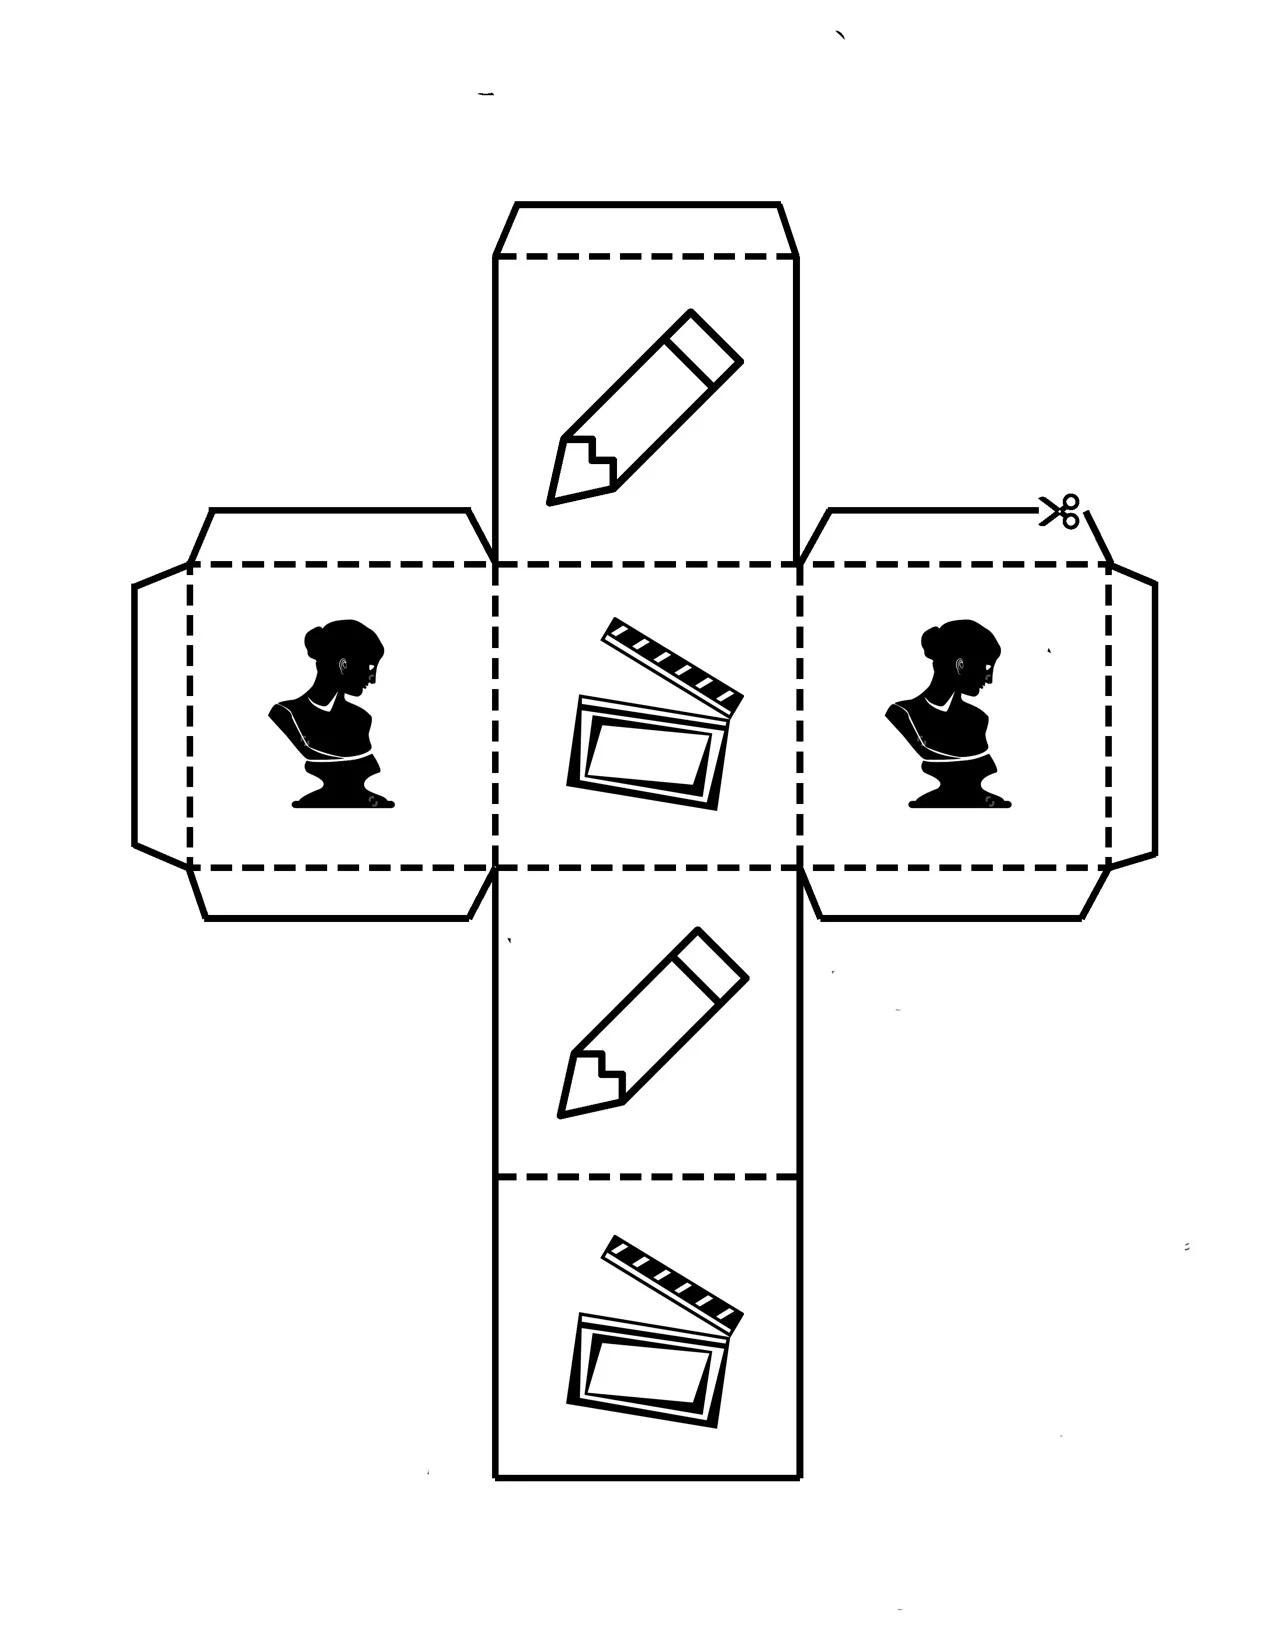
Each side of the die has an image representing the way the student will try to get their group to guess the rule—pencil means they draw, the bust means they sculpt and the clapperboard indicates they will in turn act out the clue. They roll the die, grab a clue card and then turn the timer for 30 seconds. (We used sand timers but you could monitor the time in many ways!)
This is always one of my favorite activities every year because it is a perfect way to match content with collaboration. Now in this lesson we used the dice to review school/class rules but the beauty of the Cranium-style actions is that they could be used with any content. Have lab procedures to review in science—do it in an #interACTIVE style! Maybe you want students to review the week list of vocabulary words—try it in this #interACTIVE way!
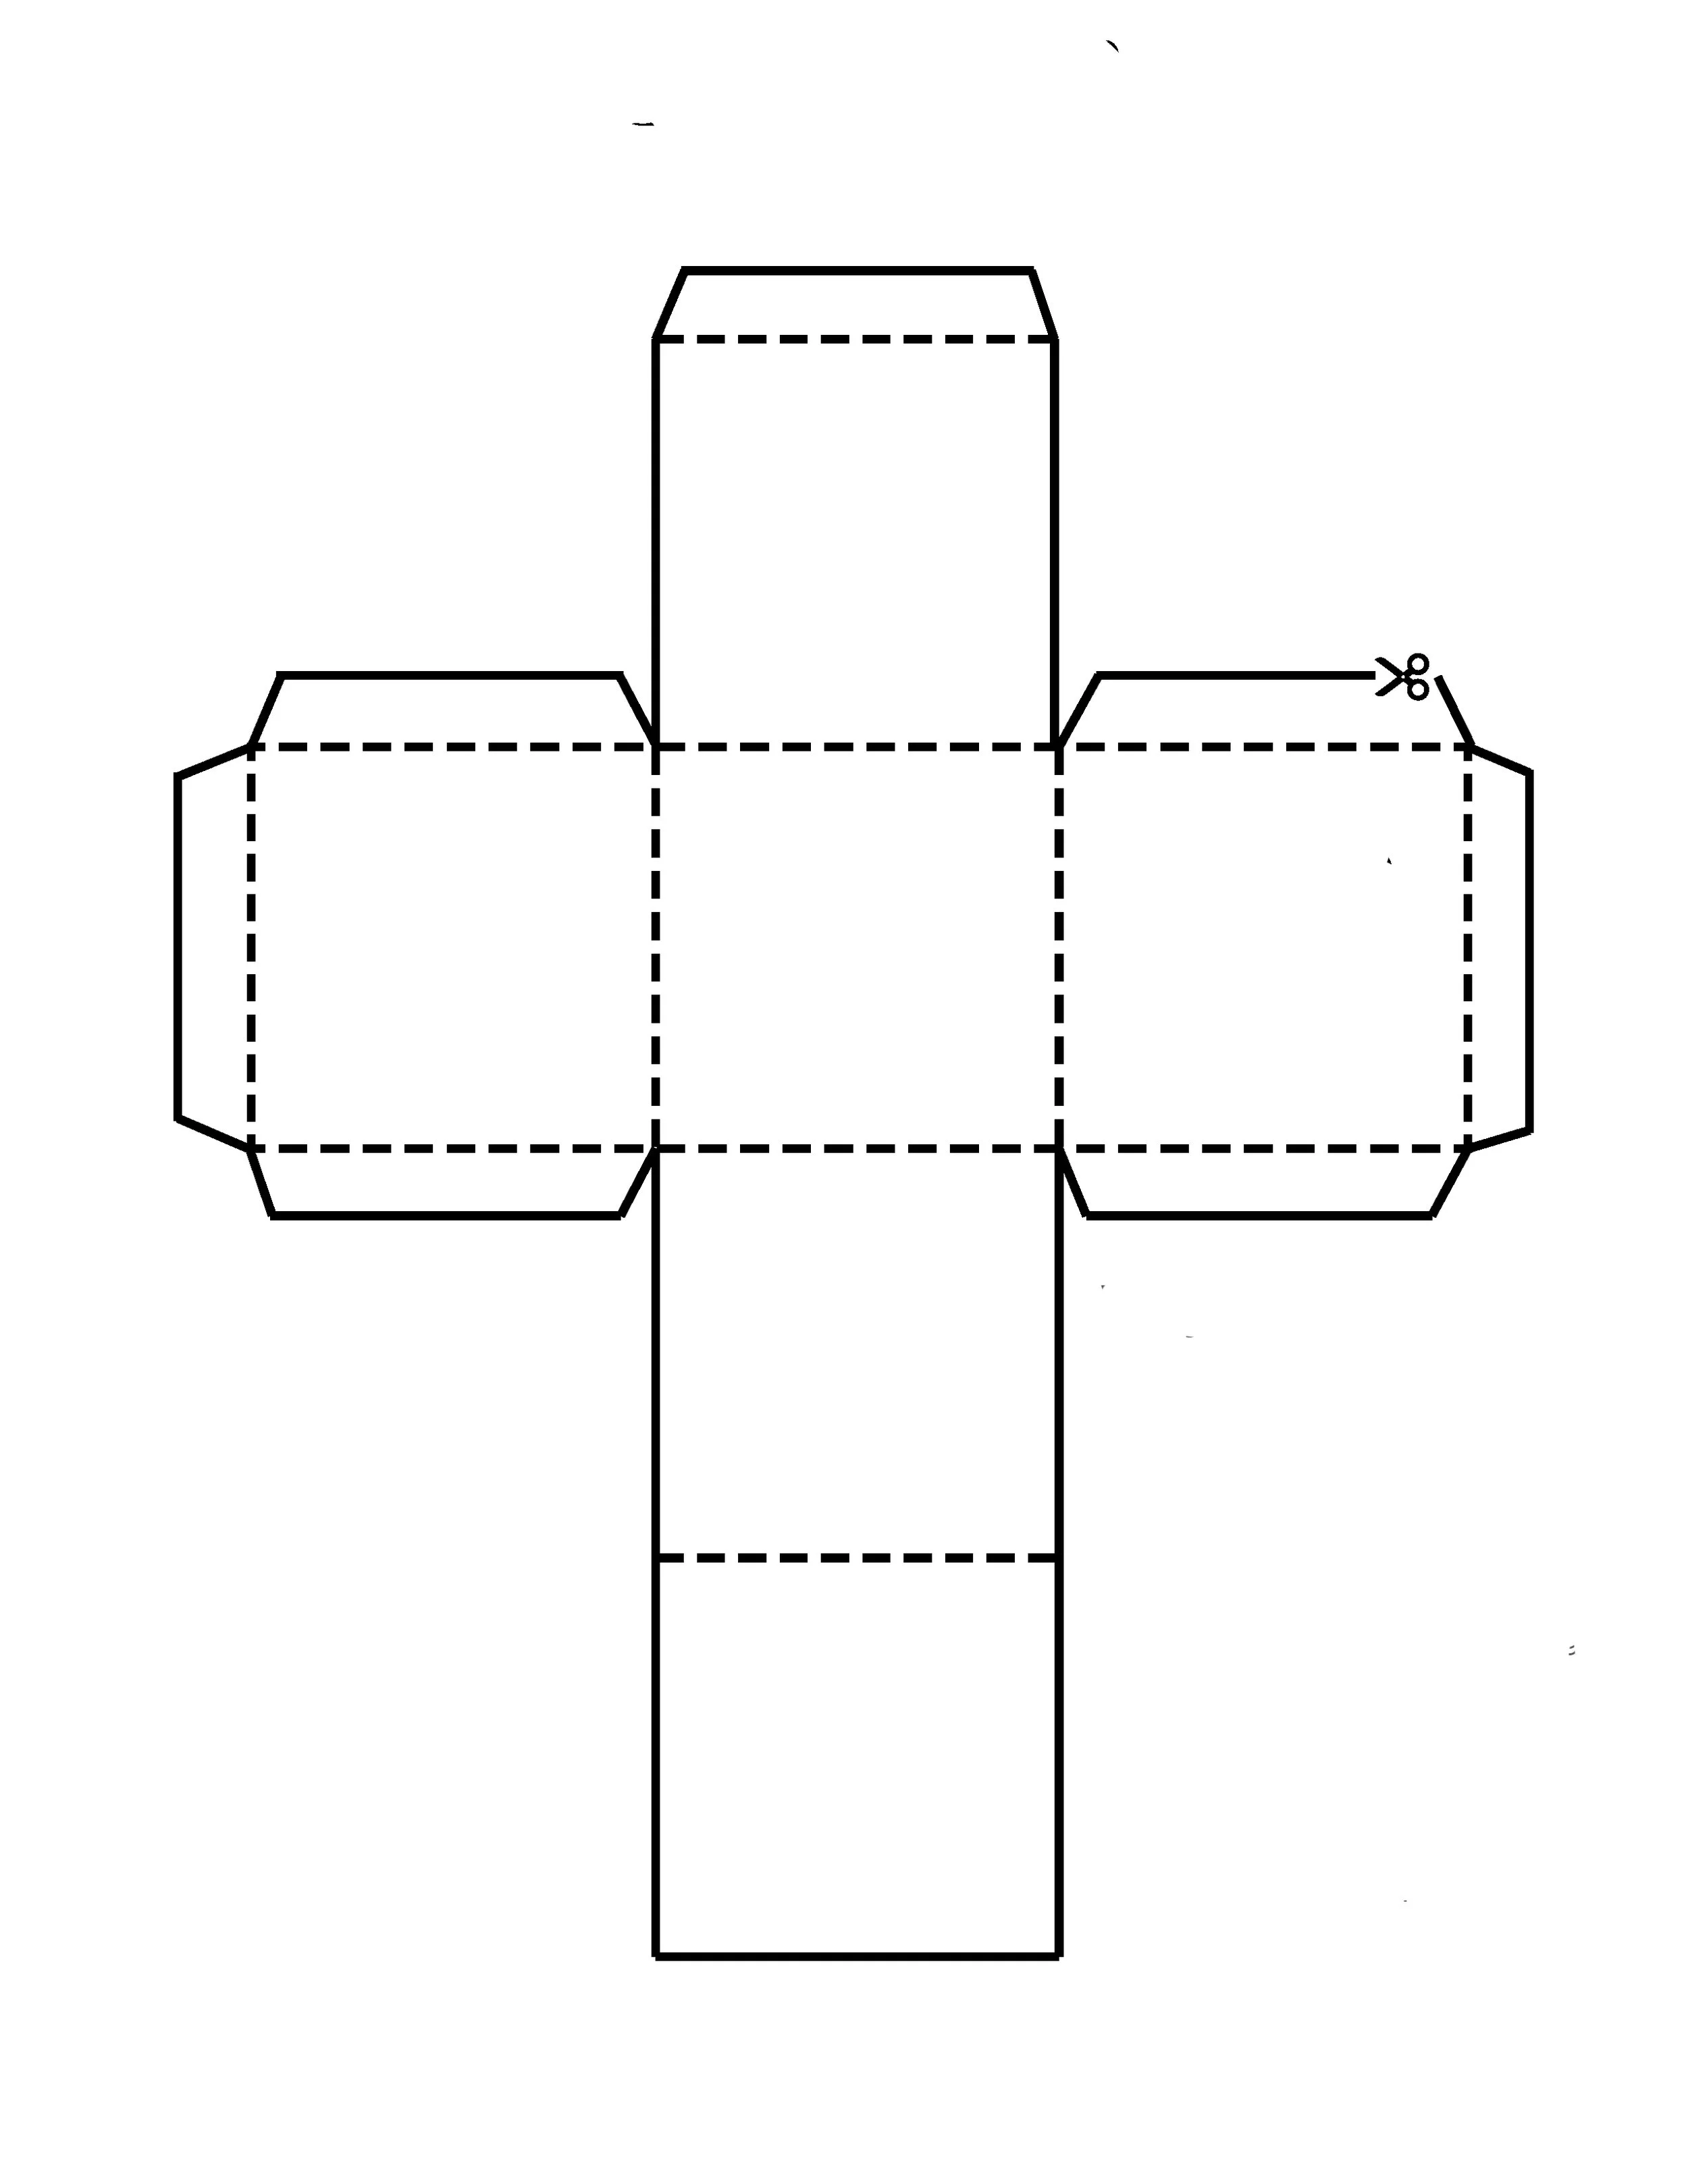
But maybe you don’t want to review something as route and routine as vocabulary words or class rules. We have also included a blank template for you to take and edit for your own #interACTIVEclass! Maybe you put literature group questions on each side, or math equations for students to solve. A simple edited die could create a fun vocabulary center as well. Roll to find the part of speech, a synonym/antonym or draw an illustration representing the word. The possibilities are endless!
If you have wound up in a position where you are solely teaching students virtually, no worries! Try using a live dice video to create the same experience for students. Direct students to the video or embed directly into your LMS, and have them pause and unpause as needed to “roll” their way through any planned activity. The example below is just one of many free resources available.
As the new school year rolls out, just remember that #interACTIVE lessons don’t always have to take a long time to plan or use lots of external resources. Simple and sweet is often the best way to get students engaging with content while collaborating and creating with each other.
-K 👗
For more interACTIVE ideas on making teaching and learning more relevant and engaging, check out our book The InterACTIVE Class!

